This is the first of a DIY series I would like to start. It will be ongoing as there is so much out there that you can do yourself! And because my blog and my business is all about ‘handmade things’, I would love to share with you how you can ‘make it yourself’. There is something out there for everyone, even if you never considered yourself creative. You may just surprise yourself! And even if you are not creating as a business, just making something for you, for your home or as a gift is good enough! There is something so exciting and satisfying about making something yourself, and seeing the finished product brings such pride and joy (even if you didn’t quite get it right the first time).
The first series I am going to start is called ‘Photography Tips’. In particular, taking great photos for your online shop, website or your blog. I have an online shop selling handmade products from various suppliers, so this is something that very much applies to me and my business, but even if you are not selling your creations online, (yet), I am sure you will find some of the tips I am about to share very useful! I am still learning myself, so this series is as much for me as it is for you!
I usually have to rely on the makers of my products to send me their beautiful images. However, not everybody knows how to take the perfect picture, and when you are selling something online it is your photo that needs to tell a story! You may have a wonderful product, but for some reason it does not sell, and more often than not this is as a result of not-so-great photography. This makes sense because unlike a virtual shop, your customer cannot smell, touch or feel your product and they need to know exactly how big or small it is. It also really helps to take a photo in the setting that it would be used…for example a storage box with books or hand towels rolled inside looks so much better than a plain box on a table….
To start, because not everybody that makes a beautiful product to sell has a great camera too, I am going to share with you how you can simply take product photos using your Smart Phone. (In my case, I use my iPhone).
As I said earlier though, taking a photo with your phone need not be just for your products or business. In fact, these tips will help you take beautiful, fun and inspiring pics at any time. After all, photographers are artists and just like artists they see beauty in every day life, often in the simplest things. So lets get started….
1. First, look for good light! This is essential for a great photo. Natural lighting is by far the best and preferably no camera flash. Look for an area in your home or garden that has great indirect lighting and no direct sunlight. So, if you are taking your photo inside, then an area that has great light coming from the side but not directly onto your product.
TIP Use a big piece of white board across your light source to help create even light across your product!
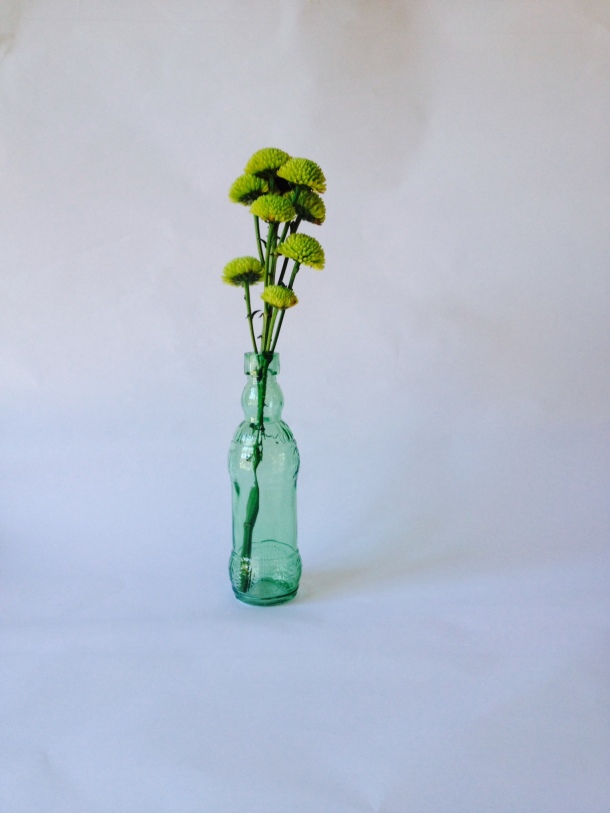
Product photo with clean white background
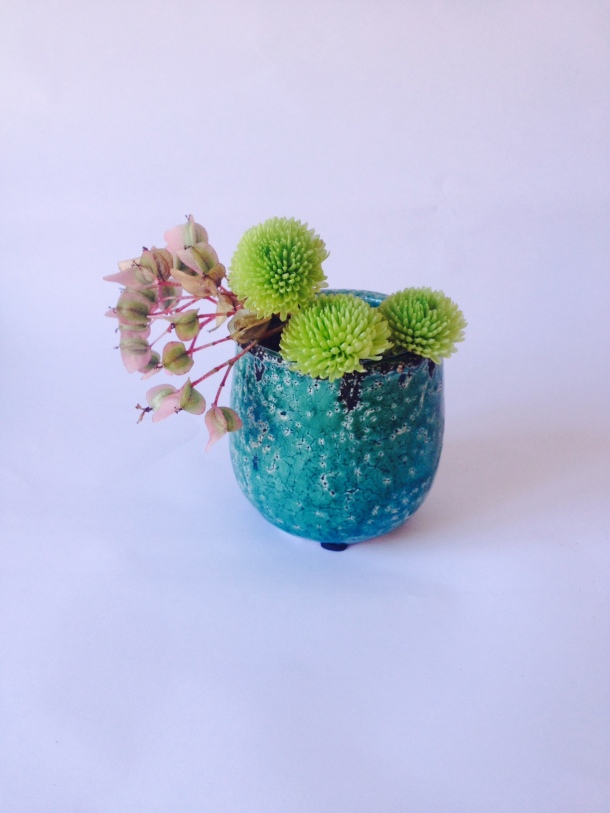
Product photo with clean white background
2. What about your background? I personally prefer a clean, white neutral background as this allows you to play around with the scene and is not distracting from your product. Not to say that props cannot be used! Props are still a great idea, but make sure that the ones you choose fit the theme of your item and all work together. For example, if you are photographing a piece of furniture, make sure you use props that have a similar colour scheme such as a brown book next to a brownish vase with flowers.
TIP: as a background, use a large white canvas for larger items, or white printer paper for smaller items.
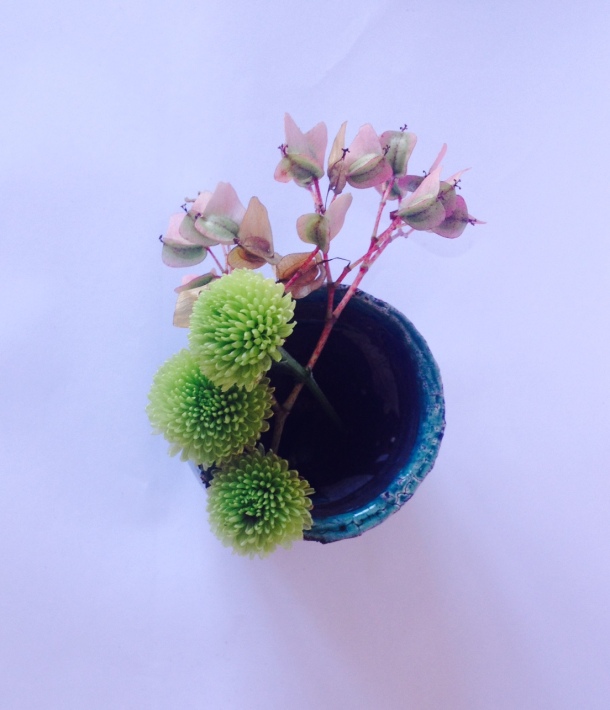
Product photo with clean white background
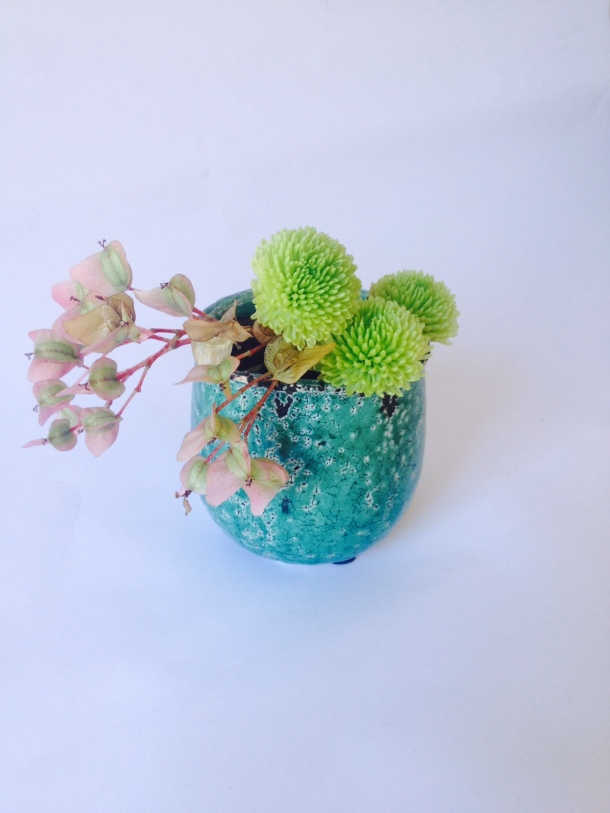
Product photo with clean white background
3. Take your photo from different angles. You can have plenty of fun with this part! I LOVE photos taken from above, so try this perspective or shoot from different angles that allow you to show depth and perspective. The important thing is to take PLENTY of photographs! This way you will have lots to choose from when you are finished.
4. Play around with the focus on your Smart Phone. Sometimes it looks great to have parts of your image out of focus. To focus on a certain part of your photo, tap the screen until you see a little square and wait for it to focus. (I do this with my iPhone). If you want the photo to be underexposed, tap on a bright part of the screen and vice versa for overexposure – tap a dark part of the screen. Remember you can tap on any part of your image to select focus, for example, if you are wanting to focus more on a part of your photo in the foreground, creating a bit of a blur in the background.
Here are a few photos I have taken with my iPhone only. I have not edited any of them. I have simply played with the focus on my phone, creating blur in certain parts, and focusing on certain parts of the photo, for example, the flowers. Terry Angelos is one of my favourite Durban artists! These Dancing Journals were custom made for a customer with 2 little dancing daughters, just like me! (and yes I have one too!) If you like Terry’s art, you may also like some of her block mounted art prints, available from ArtEsense online shop.
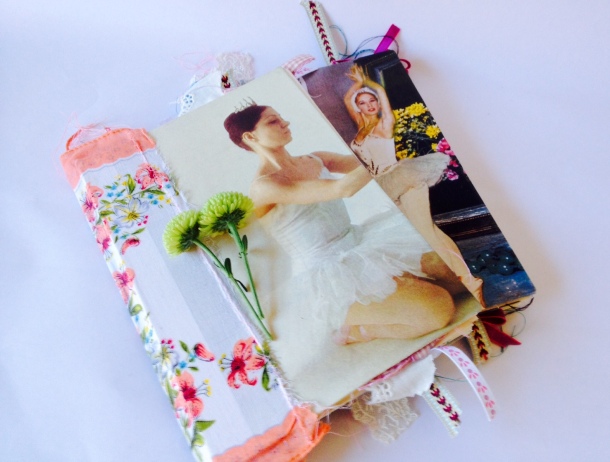
Terry Angelos Art Dancing Journal
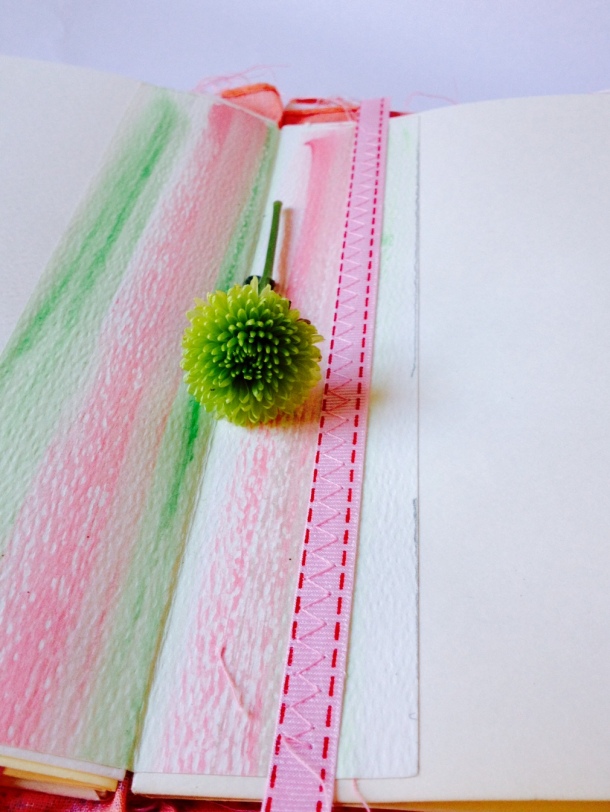
Terry Angelos Art Dancing Journal
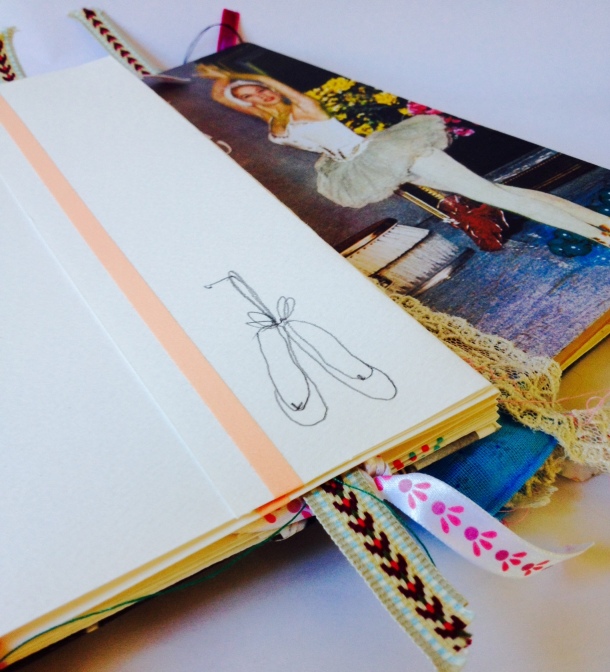
Terry Angelos Art Dancing Journal
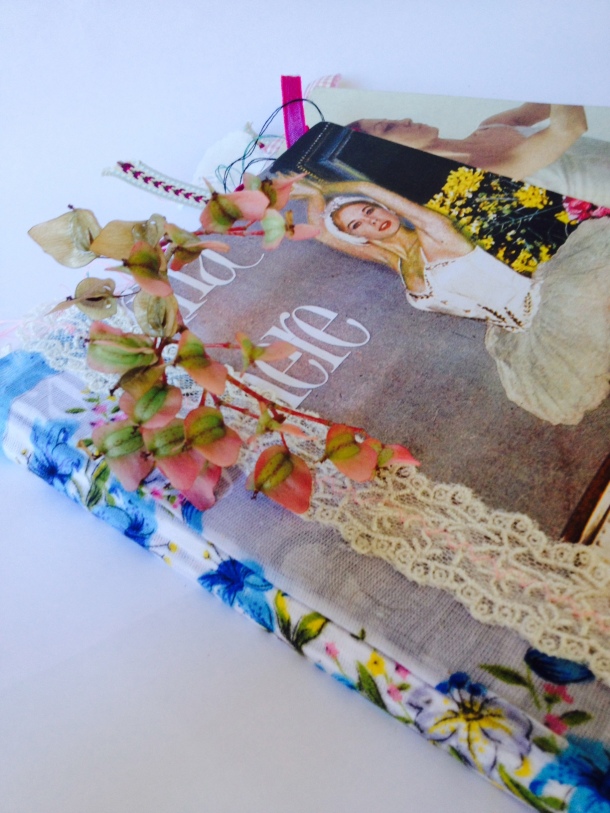
Terry Angelos Art Dancing Journal
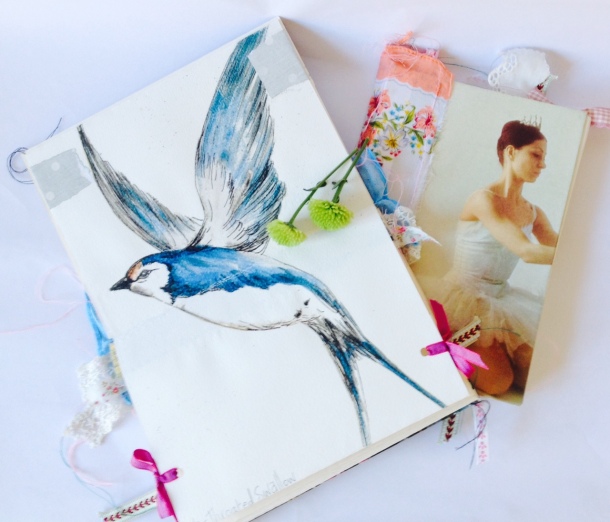
Terry Angelos Art Dancing Journal
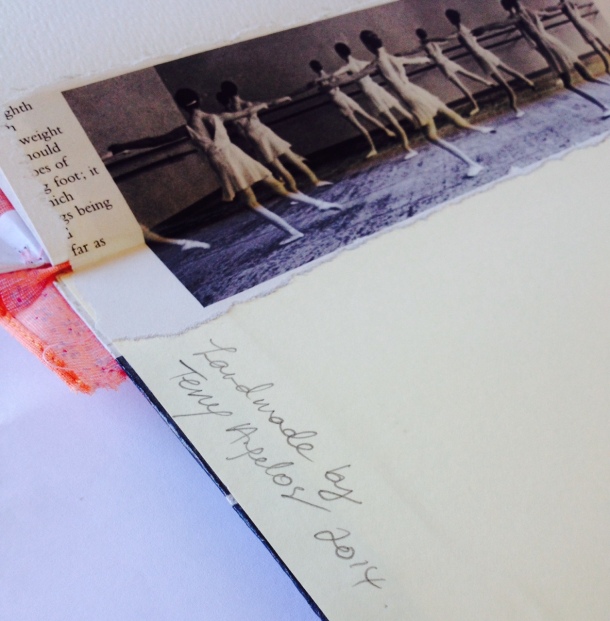
Terry Angelos Art Dancing Journal
I would like to share this video with you. It is from the blog Charm & Gumption and sums up many of the tips mentioned above.
I am going to end with this video. I really loved the way it was put together! Hope you have lots of fun trying out some of these Smart Phone ‘tricks’. The next part of my DIY Photography Tips series will focus on some really lovely editing apps, so come on over next week for more on this.
Thank you for reading. I hope this post was helpful! If you have any more tips I would love to hear from you!
